Your Easy, Tear-Free, Guide To Starting Pumping
Disclosure: This post may contain affiliate links, which means I may receive a small commission if you click a link and purchase something. Please check out my disclosure policy for more details. All opinions are my own!
I distinctly remember being 8 months pregnant and crying to my husband about starting pumping. I felt so overwhelmed with the idea of pumping, but I wanted to do it in the worst way.
To start, I had no clue how to pump. No idea when to start pumping or how often to pump. I didn’t know how much milk I needed to pump. Or almost any other detail related to pumping…
Now, take a deep breath and let me walk you through it, I promise it’s not so bad.

Easy Steps to Starting Pumping
When To Start Pumping
This really depends when you’re planning to leave your baby for the first time.
If you’re a working momma, think about how long you have at home with your little one.
If you’re a stay at home mom, think about if you’ll want a small stash of frozen milk for a date night or just a chance to let your husband feed the baby while you take a bath.
If you plan to build a large freezer stash, I recommend you start fairly early.
Some people will recommend starting immediately to establish a large supply of milk. If you’re up for it, by all means, get pumping my friend!
But, if you just want some extra snuggles with your little one and want to take things slow and not worry about pumping right away – that’s totally okay. Wait a couple of weeks until you start getting the hang of things and don’t feel you need to rush.
Okay, So How Do I Get Started Pumping?
The best and easiest time to start pumping is while you’re nursing your baby first thing in the morning. If you’ve never pumped before, it might be helpful to have your husband around as an extra set of hands while you get situated.
1. Make your pumping location comfortable! Be close to an outlet and set up your pump so you’re all ready to go.
2. Get your little one latched on in any position that’s comfortable for you and let him/her start nursing.
3. Attach your pump and turn it on! Even if you’re not getting anything, let your pump keep going, it’s important to create the demand so your body thinks it needs to produce more milk for your next pumping session. My rule has always been to pump for 20 minutes, however some people are able to get away with a quick 10 minute session.
If you’d rather not pump and nurse at the same time, here’s a great alternative idea for starting pumping:

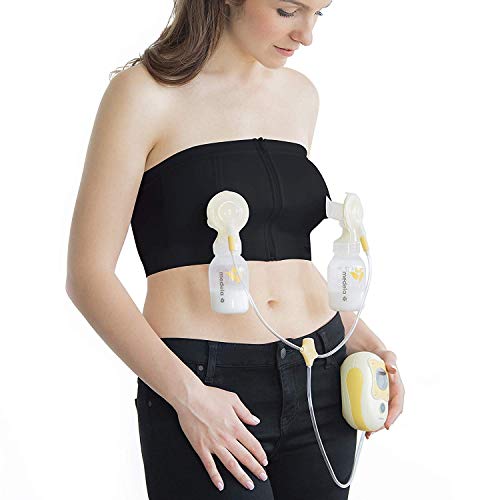
Nurse your baby and as soon as your baby is finished, pump on both sides simultaneously – research shows double pumping is more effective! Hopefully your baby is either napping or playing at this time. If your baby is playing, try a hands free nursing bra like this one, Medela Easy Expression Bustier, so you can get on the floor and play with your little one.
What If I Hardly Got Any Milk While Pumping
Don’t panic. When starting pumping, you may not get much milk, but that’s okay! Your body needs to get used to the additional demand. Breastfeeding is supply and demand.
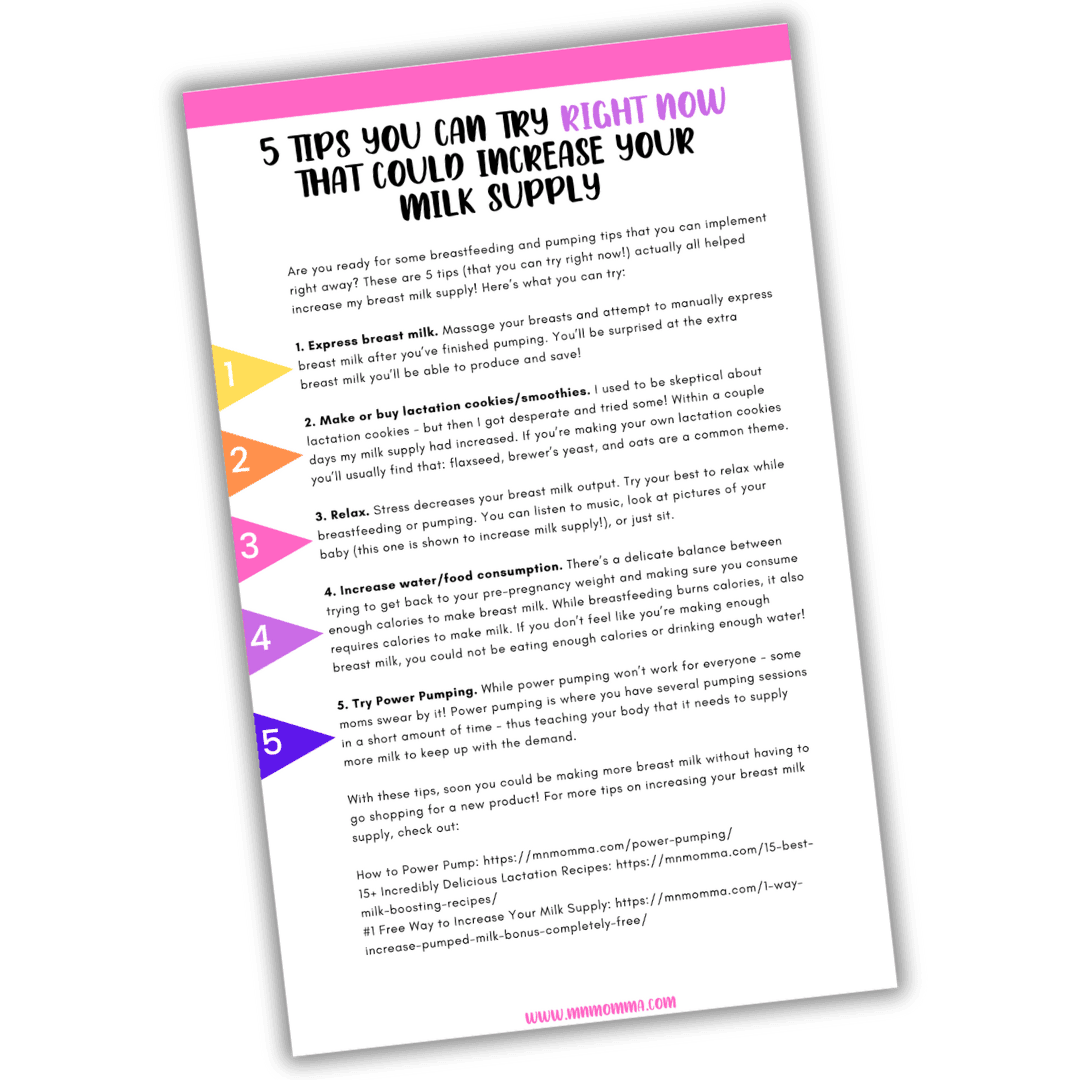
Therefore, if your body thinks your baby is needing all the milk that the pump is also taking – it’s going to make more milk! Read here for more tips on increasing your milk supply.
Continue pumping this way for a few days and you’ll see those little bottles fill up! Make sure to always refrigerate your milk and freeze it within 5 days. I recommend freezing your milk in increments between 3 and 6 ounces.
Pumping and Returning to Work
I’m going back to work in a few weeks, do I need to start pumping more than just in the morning?
Realistically, you need only 1 full day of milk for your baby to go to daycare. Starting pumping doesn’t sound so bad anymore, right?! 1 day is totally doable momma!
Depending how much milk your baby takes and how often, this will probably be between 12 and 20 ounces. For example, when O started daycare at almost 5 months, he ate 5 ounces, 3 times a day. After the first day, you’ll be pumping at work to replace what your baby eats at daycare that day!
For many moms their supply may dip when they first go back to work. A few things to keep in mind:
- Do your best to follow your baby’s eating schedule. If your little one eats every 3 hours, you need to be pumping every 3 hours – this is typical for many moms. Having a little wiggle room is okay (and by this I mean a half hour either way), but do you best to keep to your schedule. Even if it’s late, make it happen. Don’t skip a pumping session or you will see your supply drop. Remember, supply and demand!
- Your baby is your best pump and no other pump is as efficient. If you’re struggling to keep up with your baby’s eating habits, try not to stress. Stress can also lower your milk supply (great, right? One more thing to stress about!). There are several ways you can try to increase your milk supply. I lay out a few tips of what worked for me here and my #1 free tip here.
- If possible, try to build a freezer stash. It can be so helpful to have frozen milk to give your little one when you don’t quite make enough one day, or have a spontaneous date (or meeting)!
Finally, if breastfeeding or pumping becomes too stressful and you’re not enjoying it – stop. You should breastfeed as long as you and your baby are both enjoying it.
A fed baby is best, and supplementing or switching to formula is nothing to be ashamed of – you are still taking great care of your little one!
Think of it this way – a happy, less stressed momma who gives her baby formula is so much better than an unhappy, over-stressed breastfeeding/pumping momma.
Keep Track of Your Pumped Milk – Free Download!
Try your best to not let starting pumping cause you anxiety. It can be accomplished and is something you’ll get better at over time! Try reading this 17 Best Pumping and Breastfeeding Tips To Keep You Sane for extra tricks.
I would have loved to keep track of all my freezer milk better than I did. I often find myself going out to our chest freezer and counting how many ounces I have left and in what quantities.
I created a helpful Milk Inventory Log so you can be more organized and better prepared! It also includes milk storage guidelines to save you a “google”. Enjoy!