DIY Countertop Update: The Most Affordable Way to Fake New Countertops
Disclosure: This post may contain affiliate links, which means I may receive a small commission if you click a link and purchase something. Please check out my disclosure policy for more details. All opinions are my own!
Have you been looking for an affordable way to update your kitchen countertops? Then this DIY countertop update is perfect for you!
Maybe you don’t have the money for a remodel right now or maybe you’re just in the mood for a cheap change.
A few months ago we moved to our “new to us” home and absolutely love it! That being said, there were still a few changes I wanted to make.
And I definitely didn’t want to spend a lot to make these changes.
DIY Countertop Update with Giani
My ultimate goal is to completely renovate our kitchen in the coming years – I’m talking new cabinets, floors, countertops, removing a wall, and on and on. BUT, for the time being we wanted an affordable DIY project and this was just it.
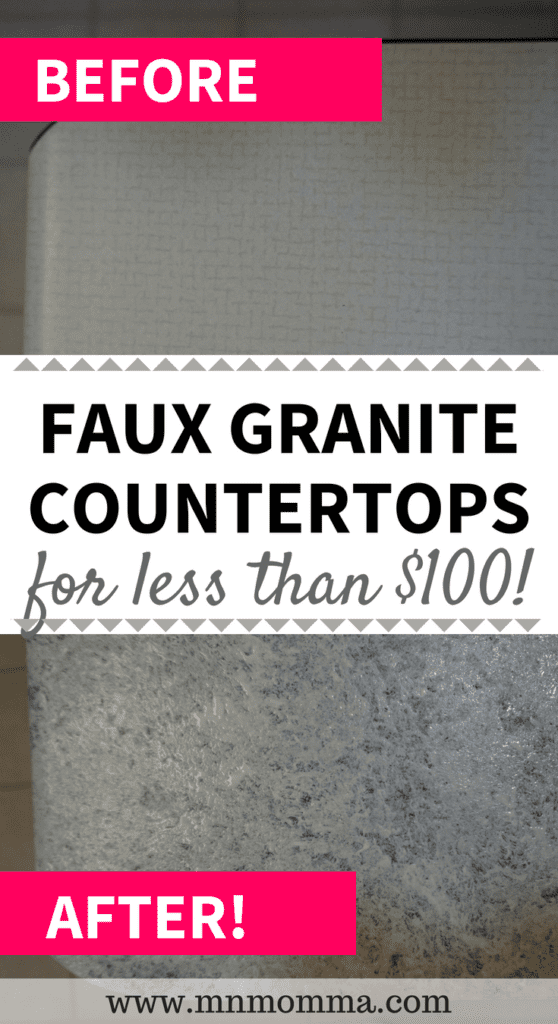
After researching online, I found Giani Countertop Granite paint kit. You read that right, paint. I bet you’re giving me the same crazy look my husband did when I first suggested it.
Wondering how this could possibly work. And if it would really be a good idea.
Thankfully, my husband is usually up for my ideas, so we gave it a shot.
And to be honest, I hated our countertops enough that I figured if we messed up, what would be the harm?
So we purchased the Giani kit and before I knew it we were painting our countertops!
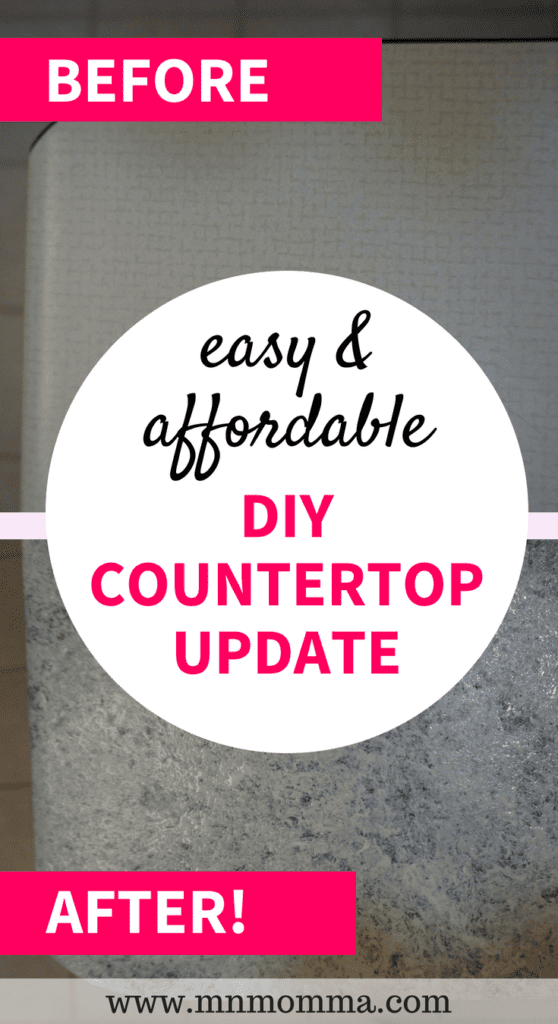
Kitchen Countertops Before
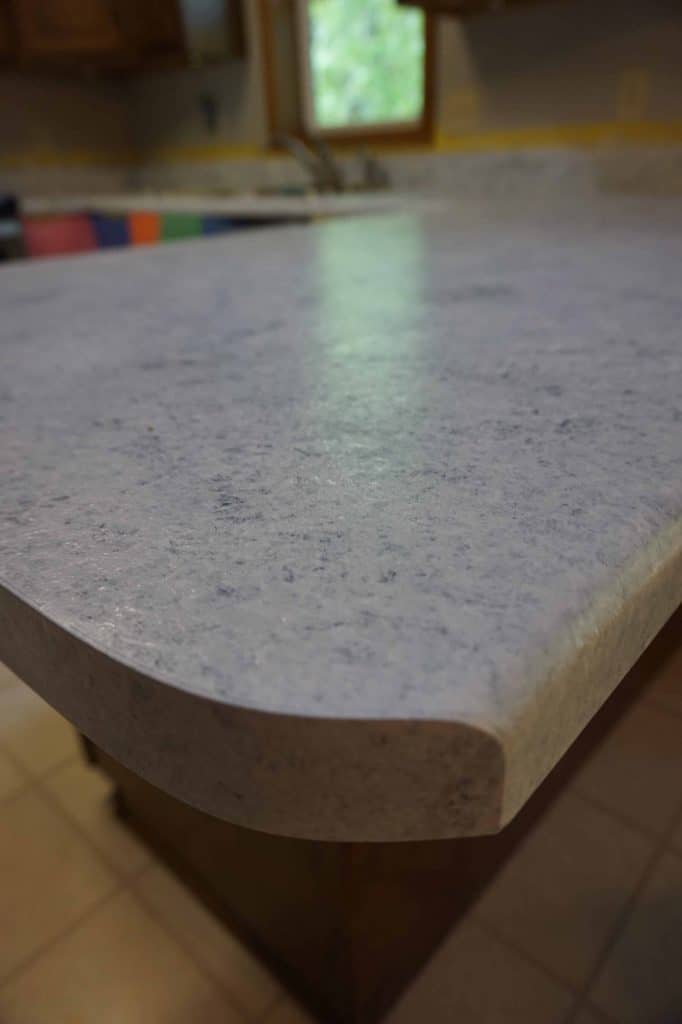
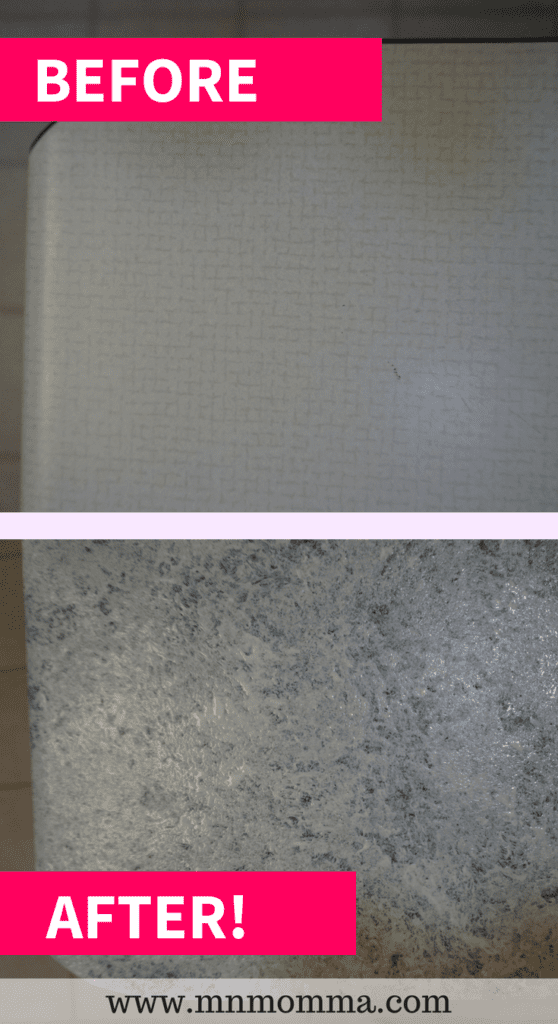
Okay, so here’s what our laminate countertops looked like before we did anything to them.
They were a cream/off white color that was probably original to the house.
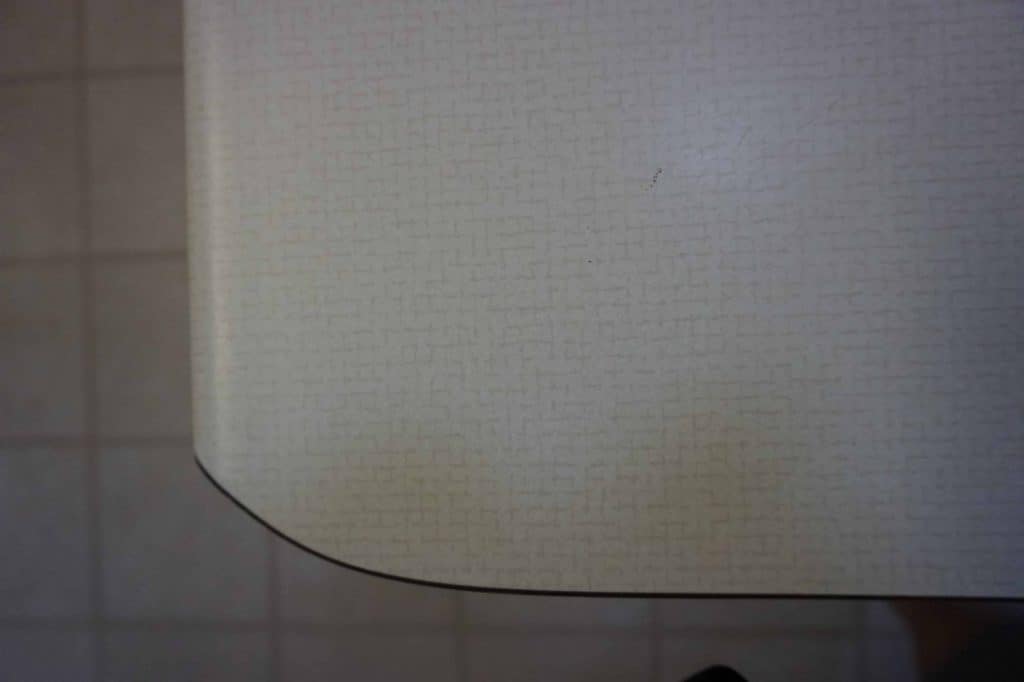

Besides that nice little knick in them, they really were in pretty good shape, they were just DATED.
What I Love About Giani’s Paint Kit
1. Giani’s paint kit comes with everything you need for this project (except painters tape – get this kind). It comes with the primer, top coat, the paint colors, rollers, sponge, and even practice sheets. If you find you run out of a specific color of paint you can always buy more of just that color right here.
2. The project is easy and fun. I promise you don’t have to be artistic!
3. The directions are concise, but clear. No “figure it out on your own” steps.
4. You can customize your design and your color.
5. The price! These kits should each cost less than $80 for your whole kitchen! (Unless your kitchen is massive…then you might be stuck buying two.)
6. The project can easily be done in a weekend.
Choosing Your Color
To start your DIY countertop update, you’ll need to figure out what color you want your “new” countertops to be.
Giani offers several colors of “granite” to paint your countertops. We currently have dark cabinets, so we decided to go with the White Diamond in order to keep our kitchen as light as possible.
Here are your options:
White Diamond
Sicilian Sand
Chocolate Brown
Slate
Bombay Black
I also have to stress that each color Giani offers can be customized for a range of looks within that color shade. For instance, our White Diamond Kit could have been much more grey, or more white if we had preferred.
I was so excited to get started, I made sure to order with Amazon Prime (use the free 30 day trial at the very least!). I’ve mentioned it before, but when I need baby things, or want to do a project right away, I want my items yesterday. So free 2-day shipping is a dream!
Step 1: Prep
Read Instructions & Watch Videos
Once you’ve chosen a color, be sure you read the instructions – and I highly recommend you watch videos on how to paint your countertops – especially one’s that relate to the color you’re planning.
You definitely don’t need to be an artist, but it’s always good to have an idea of what to do before you’re sitting with paint on your counters and your DIY countertop update feels like a mistake.
These were the videos I watched several times before my Giani kit arrived:
Clean Your Surfaces and Fill in Holes or Large Cracks
I’m going to be 100% honest here. I wiped my surfaces down with soap and water and I attempted to fill in that divot on my countertop.
As far as cleaning goes, follow the directions. I didn’t worry about it too much and just made sure my countertops were clean. I didn’t scrub them, I didn’t meticulously sanitize them.
They looked clean, so I called them clean. Done deal. And everything still worked out great, so don’t try to over analyze this part.
And as far as filling in spots… I attempted to fill in my one divot, but the wood glue just popped right out when I tried to sand it. So again, I let it be and thought it’d be a fun experiment to see what happened.
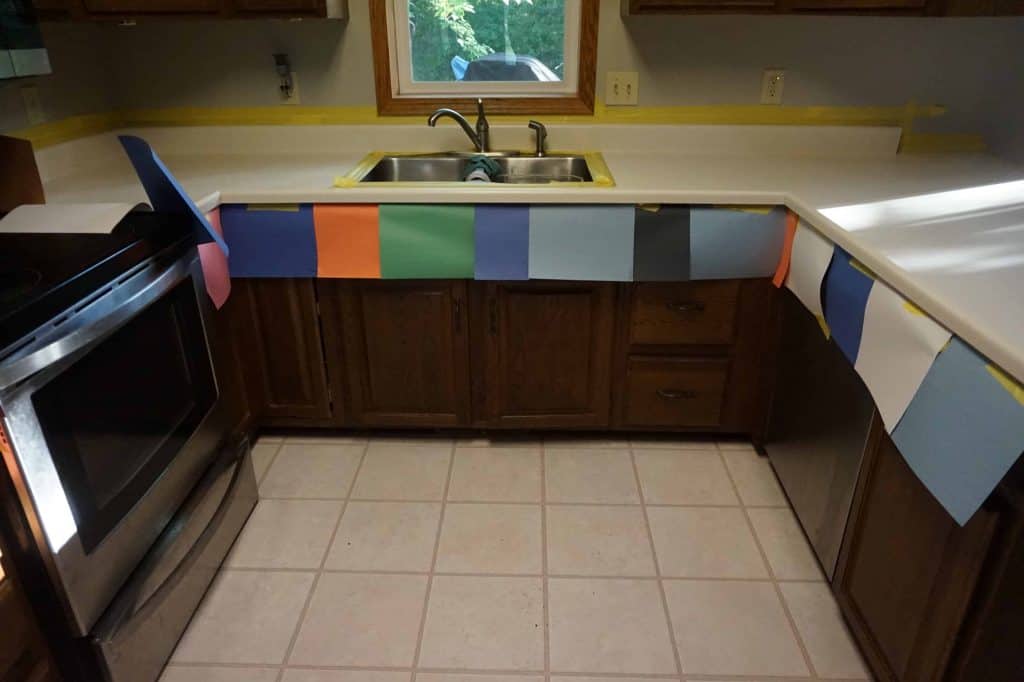
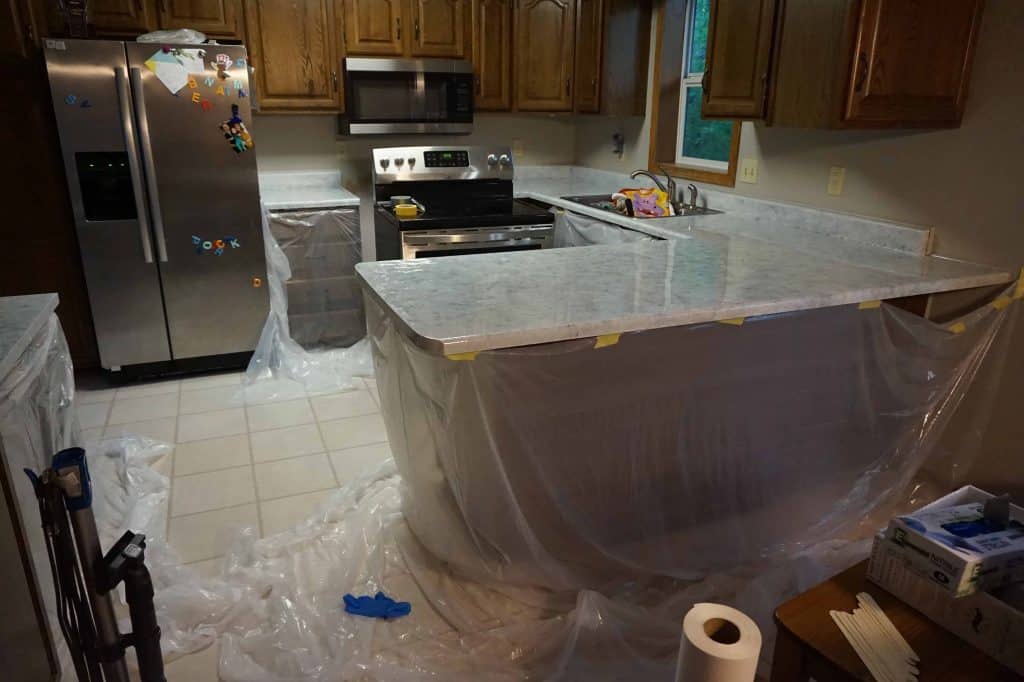
Tape and Protect Surfaces
Before starting the process be sure to protect the surfaces around your kitchen. Things really shouldn’t be splattering, but just in case you get a little carried away with a sponge or brush – it’s nice to be protected.
We taped around the tops of our countertops and put construction paper around the bottom to protect our cabinets from any crazy paint rolling I might do.
Full disclosure, I don’t usually paint with bright colored construction paper, but it was cheap, we already had it – and it totally worked.
As far as taping goes…ugh.
I’ve always wanted to love painters tape, but either I’ve been buying a kind that sucks, or there’s been some user error.
I’m excited to tell you that this time was different! We purchased Frog Tape at our local Home Depot and I’m never going back. I’m in love! This painters tape worked like magic and gave us the clean lines we were hoping for.
If there was one item I couldn’t live without during this DIY countertop update, it was the Frog tape!
Step 2: Priming Your Countertops
Now on to the easy and fun part! I promise, the prep is the worst.
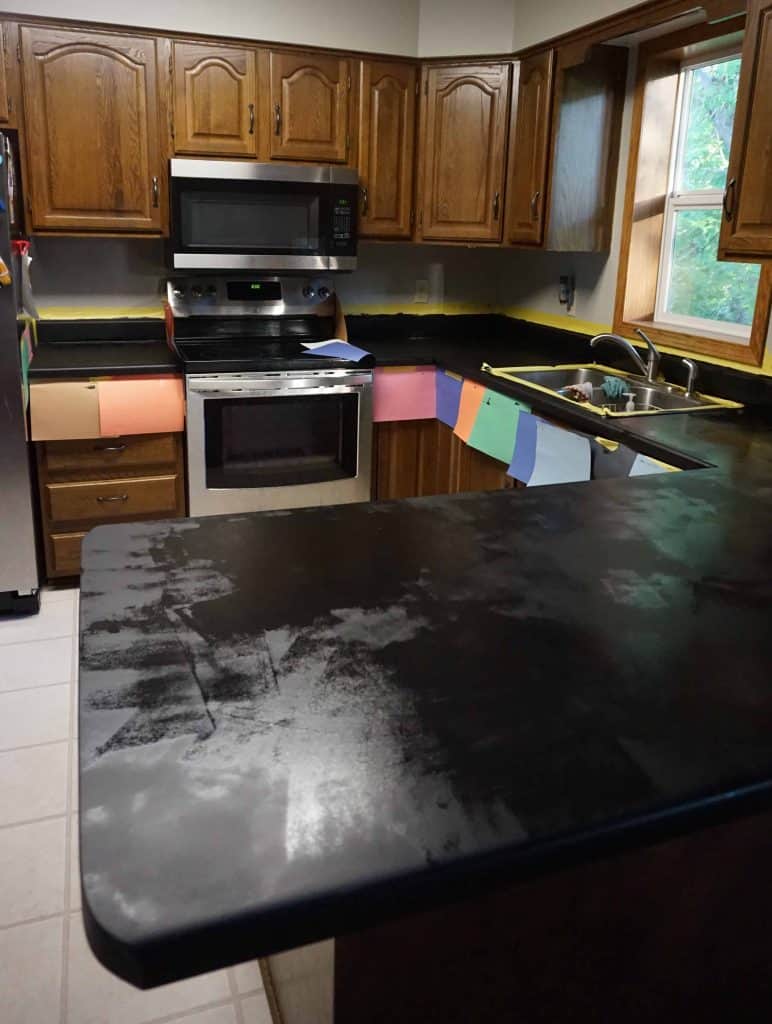
No matter what color you chose, you’ll prime your countertops with a black primer.
I like to think of this part as your commitment stage during your DIY countertop update. Once you start painting, you know there’s no going back. You’re in this!
Step 3: Painting Your Countertops
This is by far the most fun part of this project! You finally get to see some colors and watch your DIY countertop update come to life!
Make sure you’ve watched the videos and then you start sponging – one color at a time, with light hands.
During the First Color
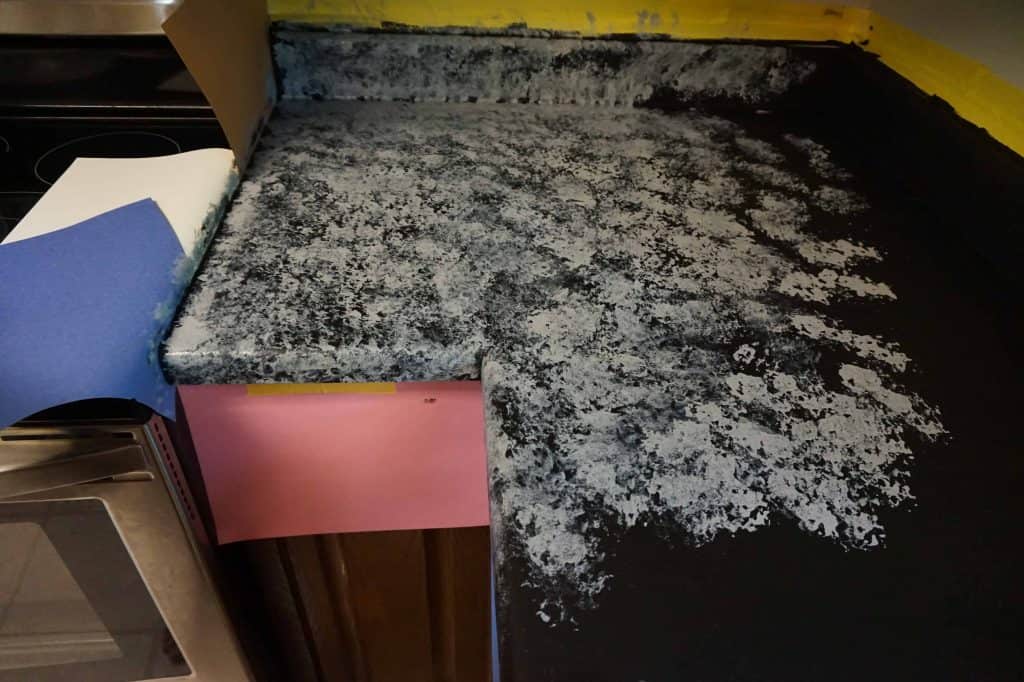
During the Second Color
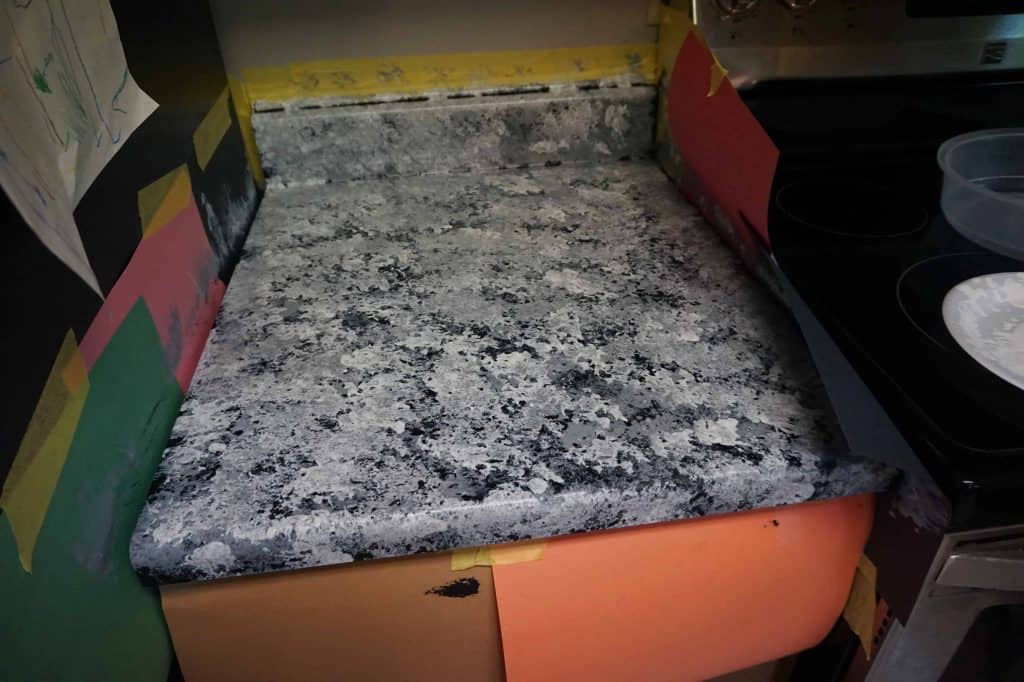
While the colors are definitely starting to come together and the black primer is being hidden – I’ll admit, I was a little horrified. I was afraid I was going to have camouflage countertops.
CAMOUFLAGE COUNTERTOPS!
Thankfully, there was one more color yet to go 😉
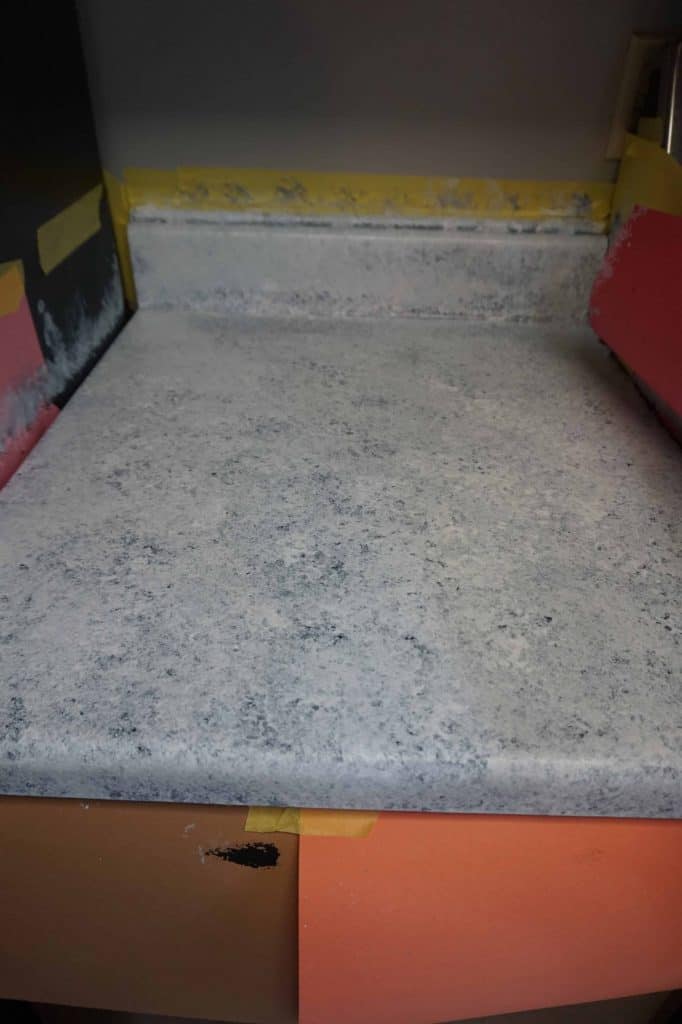
During the Third Color
Hallelujah! Now I was breathing a sigh of relief. We did two layers of the third color to brighten our countertops up even more.
Step 4: Top Coat
Almost done!
The only thing left to do was add two coats of the topcoat, which happened to contain gorgeous flecks of glitter.
Adding an Epoxy Top Coat
We did do an epoxy top coat to ensure a long lasting finishing and a beautiful extra glossy look.
However, I highly suggest you choose to do this part with caution. It is not necessary, as the kit comes with it’s own top coat. After using the epoxy, we ended up having a sticky residue on part of the counters and had to redo those parts completely (I’m still crying about it…I’m only kind of kidding).
Here’s the epoxy we used if you’re brave and want to try it. When it works, epoxy really does make your countertops extra beautiful!
What to remember if you do use epoxy:
Measure exactly. Measure the square footage you’ll need to cover your countertops and then measure it again. A little epoxy does not go a long way. We had to use SEVEN of these little boxes to cover our countertops (each covers about 6 square feet)!
Read the instructions on your epoxy thoroughly and follow them to a T. NO SHORTCUTS.
Epoxy is super messy. Buy drop cloths and make sure your floor and cabinets are covered.
Do not try to scrape extra epoxy out of the bucket as you’re pouring, this ruins your perfectly mixed ratio and can cause sticky spots (this is what we did!).
Epoxy is not cheap if you’re doing a big area. It’s even more expensive if you mess up and have to do it again.
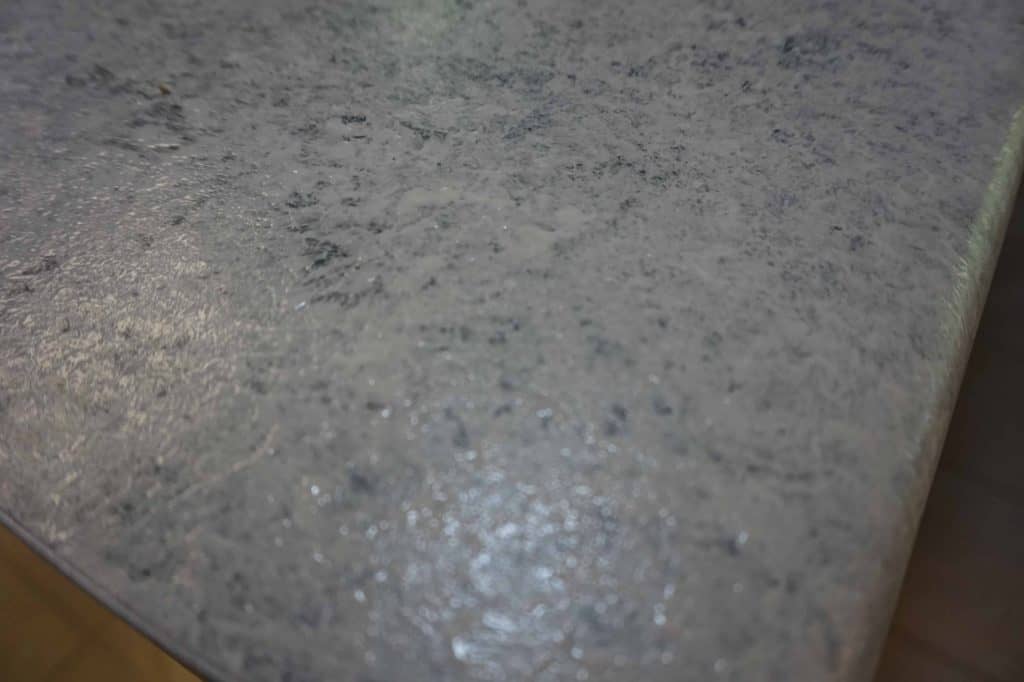
The Results of Using Epoxy As a Top Coat
Hello mess! But look at that gorgeous shine, I can’t get enough of it! It almost makes me want to epoxy again… almost.

Tops Tips for Updating Your Countertops with Giani
1. Measure the surface area you’ll need to make sure 1 kit will cover your kitchen.
2. Watch videos.
3. Follow instructions.
4. Paint with a light hand. Don’t sponge too hard, try to just dab and be random. Don’t try to create a pattern – it looks more natural when you don’t.
I promise, this project is fun and easy!
It can easily be done over the course of 3 days.
We spent 1 hour prepping and priming, 1 hour sponging the next day(my husband and I worked together), and 20 minutes or less for each top coat I did.
Finally…the Before & After!
Definitely well worth my $80 and 2 1/2 hours.
So would I do this DIY countertop update again?
Absolutely! In fact, if you read above, after our epoxy incident – we did!
When I get to thinking about bathroom updates, you can bet I’ll be considering using these kits again!
Full Kitchen Reveal
Now that our DIY countertop update is finished, we can keep moving forward on our kitchen update!
Our full kitchen, DIY, budget makeover is coming!
We’ve changed out the hardware, updated our fluorescent light fixture, and will be working on our backsplash and USB charging outlets this week.
Stay tuned!